
Creating a Form Test Flow
This guide walks you through setting up automated test flows for WordPress websites using one of CheckView’s supported form plugins. These integrations allow CheckView to automatically build and execute test flows, no manual step configuration typically required.
If your site is not built on WordPress or doesn’t use a supported WordPress form plugin, you can still create a custom test flow. While some advanced automation features may be limited, you’ll still be able to test form submissions.
1. Add a New Test Flow
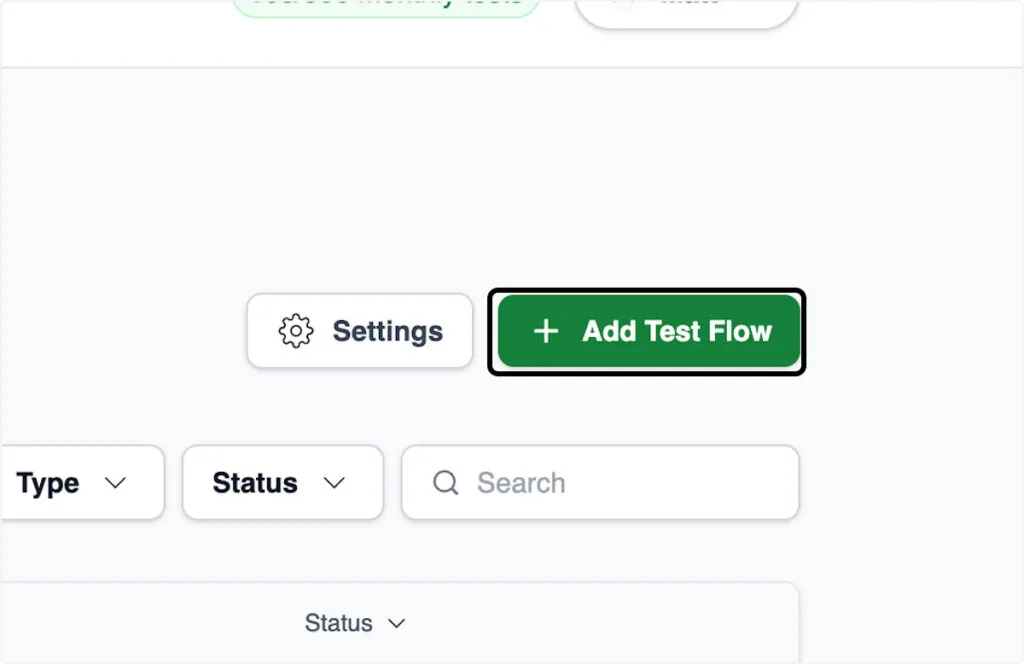
From your CheckView website dashboard, click Add Test Flow.
When you create a new test flow, CheckView automatically scans your connected WordPress site to detect any supported form plugins. Detected plugins will appear as available test flow templates.
2. Supported WordPress Form Plugins
CheckView currently supports automated test creation for the following plugins:
- Contact Form 7
- Elementor Pro Forms (classic)
- Fluent Forms
- Formidable Forms
- Forminator
- Gravity Forms
- Ninja Forms
- WPForms
- WS Form
3. Select Your Form Plugin
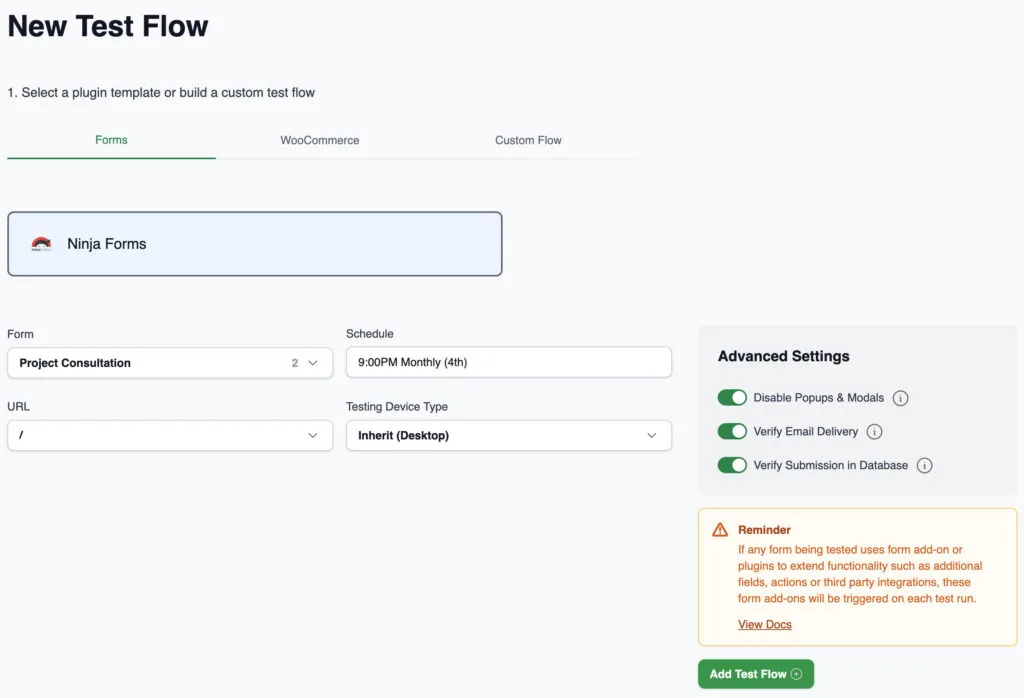
Choose the plugin you’d like to create a test flow for. Depending on your selection, CheckView will display plugin-specific setup options.
4. Select a Form
CheckView automatically detects all available forms within the selected plugin. Simply select the form you’d like to test from the dropdown list.
5. Select a URL
CheckView will attempt to auto-detect the URLs where your chosen form appears. Select the desired page from the list.
If your form or URL isn’t displayed:
- You can review our troubleshooting guide for possible causes, or
- Choose Add Custom URL and manually enter the relative page path.
6. Set Your Test Schedule
Choose how often CheckView should run this test, daily, weekly, or monthly, and select the desired time and timezone.
Keep in mind that running tests more frequently will use more of your available monthly test credits.
7. Add the Test Flow
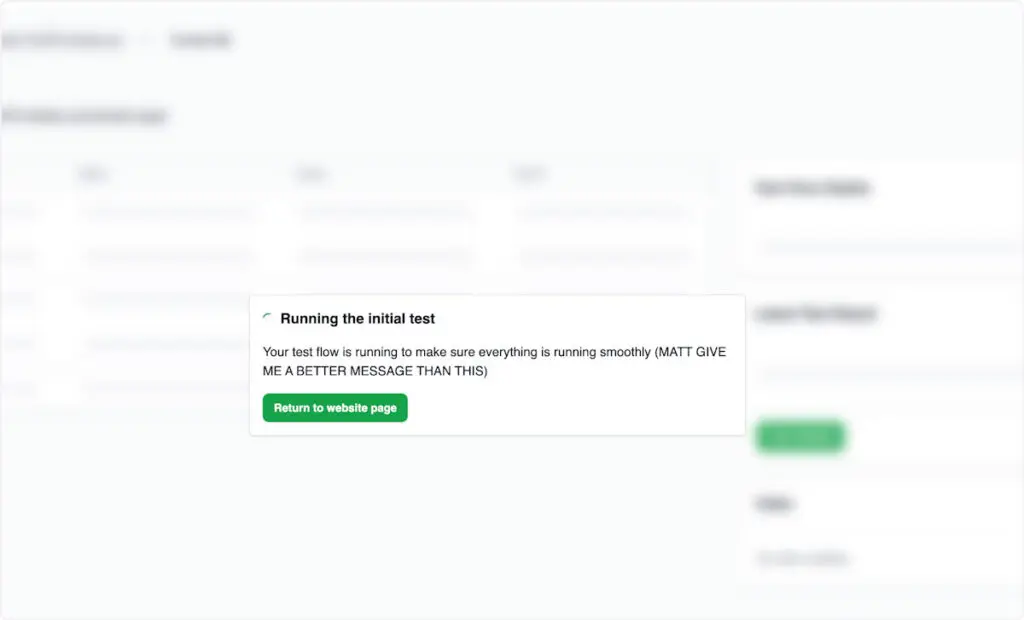
Click Add Test Flow to begin the setup. A confirmation message will appear while CheckView automatically builds your test steps.
This process typically takes a few minutes and includes:
- Conditional logic support
- Multi-step form handling
- Field validation setup
In some cases, the setup may fail. If you see an “An error occurred when building this test flow” message, refer to our troubleshooting tips for guidance.
If your form is displayed within a popup or modal, select the “Form in Modal or Popup” checkbox and provide the corresponding CSS class or ID for the element that triggers the form to open. This ensures the bot clicks the trigger first before generating
8. Review Setup and First Run
Once initialized successfully, your test flow’s status will appear as Setting up. During this period, the test cannot yet be edited or run.
 When setup completes, CheckView automatically performs an initial preview test.
- If successful, the test flow status will display Passed.
- If it fails, you’ll receive an alert with the error details and a video recording to help diagnose and adjust your steps manually and you can review our troubleshooting tips.
If you encounter an “Oops! We encountered an issue during the preview test” error, please refer to our preview test troubleshooting guide.
9. Ongoing Automated Testing
Your test will now run automatically according to the schedule you selected and will stay in a ‘Pending’ state until the scheduled run. Each test run will generate detailed reports and alerts if an issue is detected.
To maintain accurate analytics and avoid false form conversion data, make sure to exclude CheckView’s IP addresses from your analytics or tracking tools.
Congratulations!
You’ve successfully created your first automated test flow with CheckView. Whether you’re testing a WordPress form plugin or a non-WordPress site, you now have continuous confidence that your forms and user flows are functioning as expected.
Related Articles
- Scheduling Test Flows
- AI Test Failure Summaries – Use AI summaries to diagnose test failures