
How to Automatically Test Contact Form 7 Forms
Contact Form 7 is one of the longest-running form plugins in WordPress, and a big part of its appeal is how little it asks of you. You write the form in a simple tag syntax, set up the mail it sends, drop in a shortcode or block, and you are done. There is no entries screen to manage.
That simplicity has a consequence that is easy to forget. Out of the box, Contact Form 7 does not keep a copy of anything a visitor sends you. Each submission becomes an email, and that email is the only record that it ever happened. Unless you have added a storage plugin such as Flamingo, there is nothing in the WordPress dashboard to go back and check.
So think about what a failure looks like. A visitor fills in your form and presses send. Contact Form 7 hands the message to WordPress’s mailer, the mailer accepts it, and the visitor sees the green success message. Then the message is rejected by the receiving server, or lands in a spam folder, or is dropped by an SMTP service whose key expired last week. Contact Form 7 can only tell whether the message was handed off, not whether it arrived. The visitor thinks they got through, you never hear from them, and there is no entry anywhere to recover. For a quote or enquiry form, that is a lost lead with no evidence it ever existed.
The form itself is rarely the problem. It sits at the front of a chain: your mail setup, your domain’s DNS records, your spam protection and any add-ons you have connected all have to do their part. Any of them can change without anyone touching the form.
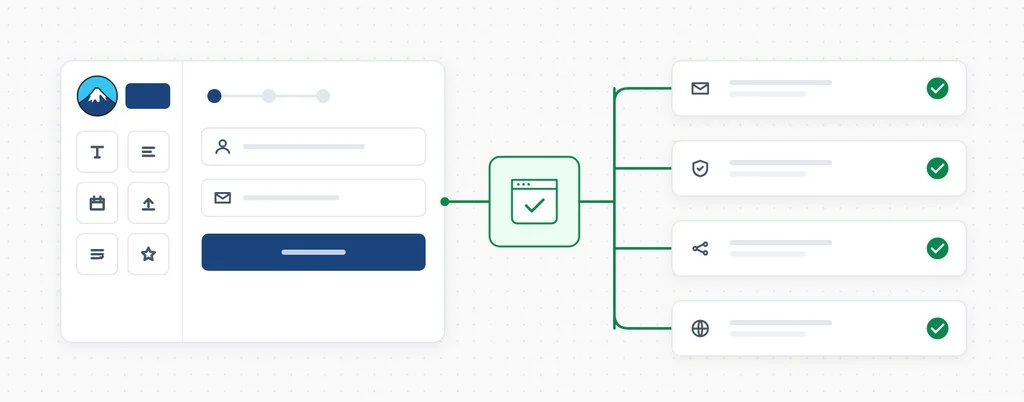
Automated testing closes that gap. CheckView fills in your Contact Form 7 form in a real browser on a schedule, submits it, and confirms the email actually arrived.
What a scheduled form test actually verifies
A form test is only useful if it checks the things that break in real life, and for a contact form most of them live outside the form:
Mail that leaves but never lands. A sending domain’s SPF or DKIM record gets changed during unrelated DNS work, an SMTP plugin loses its connection, or a mail provider starts filtering your notifications. With Contact Form 7, this is the failure that matters most, because the email is the submission.
Spam protection turning on real visitors. New reCAPTCHA keys, a Turnstile widget moved to a different Cloudflare account, or a security plugin that suddenly scores genuine submissions as bots. The visitor gets an error, or a silent rejection, and gives up.
Changes elsewhere on the site. A theme update, a new plugin, or a caching change can alter the page the form sits on. None of it is aimed at your form, but it can still break it.
A scheduled test runs the whole path from the page to the inbox and tells you the same day if something in it changes.
What CheckView does on a Contact Form 7 test
Point CheckView at a Contact Form 7 form and it handles the setup for you:
- Automatic test generation. CheckView detects your Contact Form 7 forms, finds the pages that embed them with Contact Form 7’s shortcode, and builds the steps.
- Real submissions, no real emails. The form’s mail is redirected to the CheckView test inbox for the duration of the run, including the Mail (2) autoresponder, and CC and BCC recipients are stripped. Your team and your clients never see a test message.
- Delivery confirmed, not assumed. CheckView checks that the test email actually reached its inbox. A success message on the page is not enough to pass.
- A record even though Contact Form 7 keeps none. Once Contact Form 7 accepts the submission, CheckView captures the submitted values in its own tables, checks them field by field against what the test entered, then removes them. Because this check and the email check are separate, a failed test shows whether the form stopped accepting submissions or the email stopped arriving.
- Your storage add-ons stay clean. If Flamingo is installed, test submissions are not saved to it. If you use Contact Form 7 Database Addon (CFDB7), its copy of the test entry is deleted.
- Spam protection handled cleanly. Contact Form 7’s own spam check, including its reCAPTCHA v3 and Akismet integrations, is skipped for the CheckView test session only. CheckView also handles CleanTalk, hCaptcha for WordPress, Simple Cloudflare Turnstile and WP Armour, and leaves honeypot fields empty, just as a real visitor’s browser does. Your protection stays fully active for everyone else.
- Add-ons paused during tests. With Disable Form Integrations During Tests turned on, CheckView removes third-party add-ons that hook into the submission as Contact Form 7 prepares its email, which is where many Mailchimp, webhook and CRM connectors run, so test entries stay out of those tools.
- The trickier fields. File upload fields are uploaded and checked in the stored submission. Date fields are filled with a date the field allows, so rules like future only or past only keep passing as the weeks go by. Drop-downs that use pipes are checked against the option the test chose, and multi-step forms built with the Contact Form 7 Multi-Step Forms add-on are followed page by page.
Setting it up
Contact Form 7 works the same way as every other supported form plugin in CheckView.
- Install the CheckView helper plugin on your site and keep it up to date.
- In your CheckView dashboard, open the website and click Add Test Flow.
- Choose Contact Form 7, then pick the form and the URL it appears on.
- Set a schedule. Daily is the usual choice for a main contact or quote form.
You do not need Flamingo or any other storage plugin for this to work. CheckView builds the steps and runs an initial test straight away, so you know the form is monitored properly from the moment you set it up. When a test fails, CheckView keeps the logs and a video of the run so you can see exactly where it stopped.
Practical tips for Contact Form 7
Your mail tab is the whole integration. Because the email is the only output, it is worth a quick look at the Mail tab before you schedule a test. Make sure the From address uses your own domain, so SPF and DKIM can do their job. Once the test is running, it will tell you whether that setup keeps working.
The test uses the plain submission path. During a test, CheckView switches off Contact Form 7’s front-end script, and the form is submitted as an ordinary page submission rather than in the background. Contact Form 7 runs the same validation, spam checks and mail either way, so everything behind the form is covered, but a script conflict that only affects the in-page submission may not show up.
Page builders can hide the form’s location. CheckView looks for Contact Form 7’s shortcode in your page content. If you added the form with the block editor’s Contact Form 7 block, a page builder widget or an older numeric-ID shortcode, and its page is not listed, add it with a custom URL.
Renamed Next buttons. Multi-step forms are recognized by the add-on’s default “Next” label. If you have changed it, you can set up the steps manually by following the multi-page forms guide.
Contact Form 7 was built to stay out of your way, and it does. A scheduled test makes sure the one thing it produces, the email, keeps reaching you. Happy Testing!