
How to Automatically Test Ninja Forms
Ninja Forms does two things differently from most WordPress form builders, and both matter when you are deciding how to keep an eye on a form.
The first is where the form gets built. A Ninja Forms form is not sitting in your page’s HTML waiting to be displayed. The plugin sends the form’s definition to the browser and its JavaScript assembles the fields there, then sends the submission back over AJAX. It is why conditional fields and multi-part forms feel so quick. It also means the form a visitor sees depends on every other script on the page loading in the right order. A performance plugin that starts delaying or combining JavaScript, a theme update that ships a newer library, or another plugin throwing an error early on the page can leave you with a form that looks perfect in the builder and never appears, or never submits, on the live site.
The second is what happens after Submit. In Ninja Forms, everything a submission triggers lives in one list on the form’s Emails & Actions tab. The admin notification is an action. The visitor’s confirmation email is an action. Storing the submission is an action. So is the success message, the redirect, and each add-on you have connected, whether that is Mailchimp, a CRM, Zapier or a webhook. It is a tidy way to work, and a reminder of how much one form is responsible for.
None of that is a flaw in Ninja Forms. It is simply that a working form depends on more than the form. Once a visitor clicks Submit, the entry is handed on to your mail setup, the DNS records that let that mail be trusted, whatever spam protection sits in front of it, and every service your actions talk to. Each of those has its own settings, credentials and update schedule, and none of them tells you when something changes. The builder preview can only tell you about the first link.
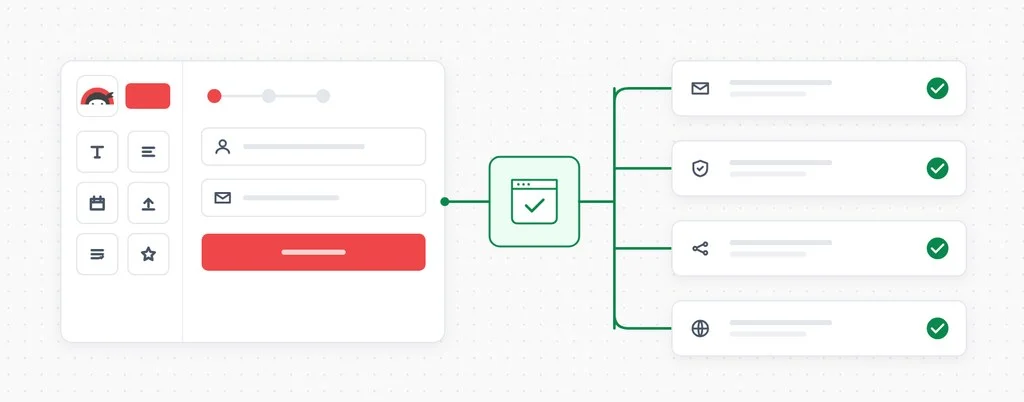
Automated testing covers the rest. CheckView opens your page in a real browser, lets Ninja Forms build the form exactly as a visitor would get it, fills it in, submits it and confirms that the submission and the notification both made it through, on whatever schedule you choose.
What a scheduled form test actually verifies
These are the failures a scheduled test tends to catch:
Scripts that stop the form loading. Because Ninja Forms renders in the browser, a JavaScript change anywhere on the page can stop the form appearing or stop the submit button doing anything. A test that has to find the form, fill it and submit it notices straight away.
Mail that quietly stops arriving. An SMTP plugin’s API key is rotated, a sending domain’s SPF or DKIM record is edited during unrelated DNS work, or a mail provider begins filtering notifications as spam. The form still shows its success message. Nobody receives anything.
Spam protection that blocks real people. A reCAPTCHA key is regenerated for a different domain, a Turnstile widget is moved to another Cloudflare account, or a security plugin starts scoring genuine visitors as bots. The form looks fine and turns everyone away.
Submissions that go missing or arrive wrong. A test checks the submission against the values it entered, so an entry that never arrives, or arrives with the wrong values, shows up as a failure rather than as a gap you find months later.
Run on a schedule, a test walks the whole path end to end and tells you the same day if any part of it changes.
What CheckView does on a Ninja Forms test
Point CheckView at a Ninja Forms form and it takes care of the setup:
- Automatic test generation. CheckView detects your Ninja Forms forms, finds the pages that embed them with the block or the shortcode, and builds the test steps. There is typically no manual step configuration.
- Every email action redirected. Each Email action on the form, including a confirmation email to the visitor, is sent to the CheckView test inbox for the duration of the run, and CC and BCC recipients are stripped. Your team, your clients and your visitors never see a test entry.
- CAPTCHA handled for the test only. Ninja Forms’ reCAPTCHA field and the hCaptcha field from hCaptcha for WordPress are removed for the CheckView test session only, and Akismet is switched off for that one submission. Forms protected by Ninja Forms’ Cloudflare Turnstile field, CleanTalk, Simple Cloudflare Turnstile or WP Armour submit cleanly too. Your protection stays fully active for every real visitor.
- Actions trimmed to the essentials. With Disable Form Integrations During Tests turned on, only the Email, Store Submission and Success Message actions run for a test. Redirects, Mailchimp, webhooks, Zapier, CRM and payment actions are switched off for that submission, so no test contact lands in your marketing list.
- Verified, then cleaned up. The values the browser submitted are checked field by field against the values the test entered, including fields revealed by conditional logic, and the test entry is then removed from your Ninja Forms Submissions.
- The trickier parts of a form. Multi-part forms are stepped through page by page. Date pickers work with restrictions such as future dates only, past dates only or a set start day, and time dropdowns work within limited hours. Upload fields from the File Uploads add-on receive a sample file.
Setting it up
Ninja Forms works the same way as every other supported form plugin in CheckView.
- Install the CheckView helper plugin on your site and keep it up to date.
- In your CheckView dashboard, open the website and click Add Test Flow.
- Choose Ninja Forms, then pick the form and the URL it appears on.
- Decide whether this flow should run the form’s add-on actions. Leave Disable Form Integrations During Tests on to keep test entries out of your connected services.
- Set a schedule. Daily is the common choice for a main contact or quote form.
CheckView builds the steps and runs an initial test straight away, so you know the form is being monitored properly from the moment you set it up.
A few practical tips
If your form’s page is missing from the list, add it yourself. CheckView finds forms placed with the Ninja Forms block or the [ninja_form] shortcode. If you placed the form through a page builder module, a widget or a theme template, use Add Custom URL when you create the flow and point it at the page where the form appears.
Expect a test entry to linger for a few minutes. The test submission is removed from Ninja Forms’ Submissions about 15 minutes after the run rather than instantly, so any add-on still working on it can finish.
Know what a trimmed action list means. With integrations disabled, a form that normally redirects will stay on the page for the test, and a payment action will not run. The test still proves the form submits, that the submitted values arrive intact and that its email is sent. If you need to confirm that a redirect or an add-on works, turn the setting off for that one flow and every action will run as it does for a real visitor.
Browser checks still apply. CheckView skips Ninja Forms’ server-side field checks for test sessions, which is part of how CAPTCHA fields are handled, but the required-field checks Ninja Forms runs in the browser still apply to every test.
Happy Testing!